How to Soundproof a Bedroom Cheaply: Budget Fixes Under $100
Snooze Protocol Guide • Bedroom Noise
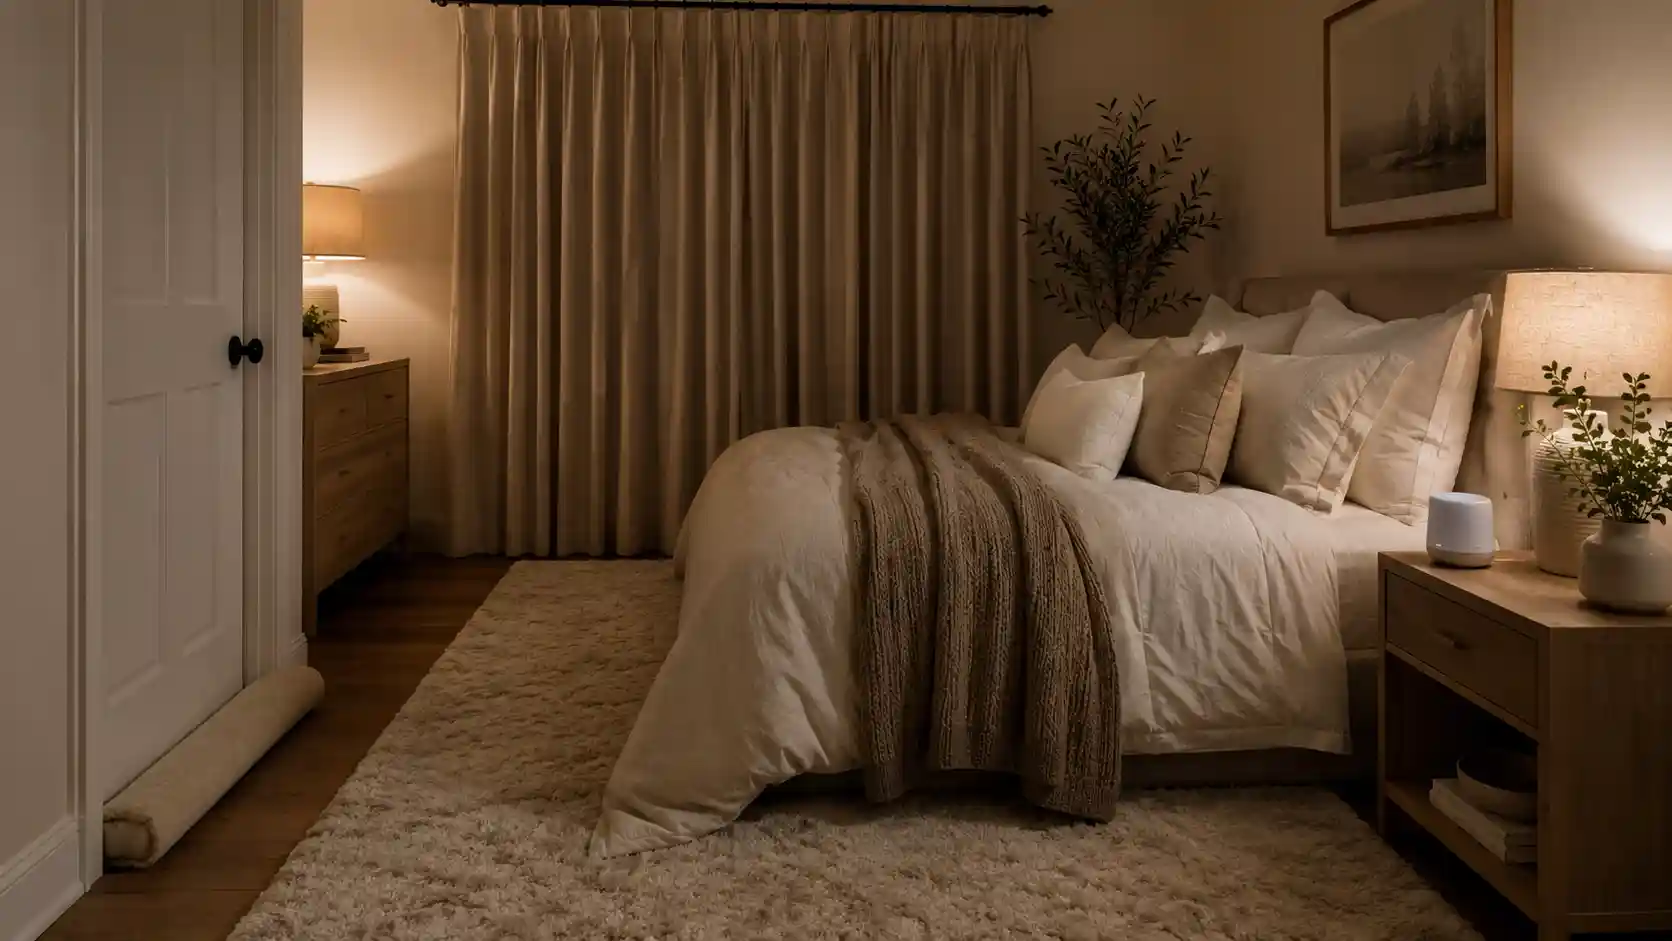
Make Your Bedroom Quieter on a Budget
A practical, renter-friendly guide to reducing bedroom noise with door sealing, soft layers, window coverage, furniture placement, and sound masking — without a renovation.
Affiliate Disclosure: As an Amazon Associate, I earn from qualifying purchases. This article may contain affiliate links. If you buy through these links, we may earn a commission at no extra cost to you.
Quick Answer: The Cheapest Way to Soundproof a Bedroom
The cheapest way to soundproof a bedroom is to seal air gaps first, then add soft layers, then use white noise for sounds you cannot block. Start with the bedroom door, because sound often travels through the gap under the door and around the frame. Then treat the window area with heavier curtains, add a rug or soft textiles to reduce echo, and use a white noise machine only for unpredictable sounds that still get through.
- First: seal the door gap with a draft stopper.
- Second: add weatherstripping around the door frame.
- Third: soften windows, floors, and hard surfaces with curtains, rugs, and textiles.
- Last: use white noise to mask remaining sudden sounds.
These upgrades will not make your room completely silent, but they can make it feel less sharp, less echoey, and more comfortable for sleep.
Best first step: seal the bedroom door gap. It is usually the easiest, cheapest, and most overlooked place to start.
Why Your Bedroom Feels So Noisy at Night
Trying to sleep while your bedroom picks up every hallway sound, passing car, barking dog, or neighbor’s late-night routine is deeply frustrating.
The worst part is that most “soundproofing” advice makes it sound like you need construction work, acoustic panels, thick walls, or a renovation budget. For most bedrooms, that is not realistic. You probably just want the room to feel quieter tonight without spending hundreds of dollars or turning your space into a recording studio.
The good news is that cheap bedroom soundproofing is possible if you focus on the right problems first. You may not fully block every sound, especially low-frequency noise or vibration through walls, but you can often reduce gaps, soften echo, cover thin surfaces, and create a calmer sound environment for sleep.
This guide shows you how to soundproof your bedroom on a budget using simple DIY upgrades: door draft stoppers, weatherstripping, heavier curtains, rugs, soft textiles, furniture placement, and sound masking. The goal is not perfect silence. The goal is a quieter, softer, more sleep-friendly bedroom without wasting money on the wrong fixes.
At Snooze Protocol, we look at sleep comfort through the full bedroom environment: sound, light, temperature, texture, and routine. If noise is the thing keeping your room from feeling calm, start here before buying expensive gear or planning major changes.
Important Reality Check
What Bedroom Soundproofing Can and Cannot Do
Before buying anything, it helps to understand the difference between reducing noise, blocking noise, and masking noise.
Blocking noise means stopping sound from entering the room. This is the hardest part, especially when noise travels through walls, ceilings, or floors. True soundproofing usually requires mass, sealing, and construction-level changes.
Reducing noise means making the room feel less harsh. Soft materials like curtains, rugs, bedding, and upholstered furniture can reduce echo and make sounds feel less sharp inside the space.
Masking noise means adding a steady background sound so sudden noises feel less noticeable. A white noise machine does not block sound, but it can make inconsistent noise feel less disruptive in a bedroom.
For a budget under $100, your goal should be realistic: seal obvious gaps, soften hard surfaces, and mask the sounds you cannot fully block. That combination usually gives better results than spending the whole budget on one product and hoping it solves everything.
Why Budget Soundproofing Has Limits
True soundproofing usually depends on three things: sealing gaps, adding mass, and reducing vibration paths. Budget fixes can help with the first two in small ways, but they usually cannot stop low-frequency vibration or structural noise through walls, floors, and ceilings.
That is why this guide focuses on realistic bedroom improvements: sealing obvious leaks, softening hard surfaces, and masking sounds that cannot be fully blocked without construction.
Think of this as a practical “make the bedroom quieter” plan, not a promise to create a perfectly silent room.
Before You Buy Anything: Find Where the Noise Comes From
Spend five minutes checking the room before buying products. This helps you avoid wasting money on the wrong fix.
- Hear voices from the hallway? Start with the bedroom door gap and door frame.
- Hear cars, dogs, or street sounds? Focus on the window area and heavier curtains.
- The room sounds sharp or echoey? Add rugs, bedding layers, and soft textiles.
- Sudden sounds still bother you? Add white noise after sealing and softening the room.
- Feel vibration or bass through the wall? Budget fixes may only help a little.
This quick check matters because bedroom noise is not always coming from the place you think. A noisy room may have a door problem, a window problem, an echo problem, or a sound masking problem. Each one needs a different fix.
Find the Noise Source First
| If You Hear… | Likely Weak Point | Try This First |
|---|---|---|
| Voices or TV from the hallway | Bedroom door gap | Door draft stopper + weatherstripping |
| Cars, barking dogs, or street noise | Window area | Heavy curtains or layered window coverings |
| Echo inside the room | Hard floors and bare surfaces | Rug, bedding layers, soft textiles |
| Sudden sounds that wake you | Unpredictable background noise | White noise machine after basic sealing |
| Bass or vibration through walls | Structural sound transfer | Furniture placement may help slightly, but budget fixes are limited |
Budget Soundproofing Plan Under $100
If you want to soundproof a bedroom cheaply, do not start by buying random foam panels. Foam can reduce echo inside a room, but it usually does very little against noise coming through doors, windows, or walls.
A smarter budget plan starts with the places where sound leaks in most easily:
- Door gap: add a draft stopper or door sweep.
- Door frame: add weatherstripping tape where there are visible gaps.
- Window area: use heavier curtains or layered fabric if outside noise is a problem.
- Hard floor: add a rug or soft textile to reduce echo.
- Unpredictable sounds: use a white noise machine to mask sudden changes.
This approach gives you a layered setup. Each item does a small job, but together they can make the bedroom feel calmer and less exposed to noise.
If you already have a rug, curtains, or extra blankets, use them before buying anything new. Budget soundproofing works best when you combine simple fixes instead of relying on one “magic” product.
Simple Under-$100 Bedroom Soundproofing Setup
If you want the most practical setup under $100, do not spend everything on one product. A layered setup usually works better because bedroom noise often comes from several weak points at once.
| Budget Level | What to Prioritize | Best For |
|---|---|---|
| Lowest budget | Door draft stopper + weatherstripping | Hallway noise, voices, gaps around the bedroom door |
| Mid budget | Door sealing + heavier curtains or rug | Door leaks, window noise, hard rooms that echo |
| Full under-$100 setup | Door sealing + soft layers + white noise machine | Mixed noise from doors, windows, hard surfaces, and sudden sounds |
This does not mean you need to buy everything at once. Start where the noise enters first, then build the setup gradually.
Budget Bedroom Soundproofing Comparison
| Upgrade | Best For | Budget Priority | What It Helps With | Shop |
|---|---|---|---|---|
| Door draft stopper | Noise coming under the bedroom door | First buy | Reduces sound leaks through the door gap | Check removable door draft stoppers |
| Weatherstripping tape | Gaps around the door frame | First buy | Helps seal small air gaps where sound travels | Check self-adhesive weatherstripping tape |
| Heavy curtains | Window noise and echo | Medium priority | Adds soft mass around windows and reduces harshness | Check heavy bedroom curtains |
| Rug or thick floor textile | Echo and hard floors | Medium priority | Softens reflected sound inside the bedroom | Check thick bedroom rugs |
| White noise machine | Unpredictable background noise | Useful add-on | Masks inconsistent sounds with steady background noise | Check white noise machines for bedrooms |
Product details, availability, and pricing may change. Always check the current Amazon listing before purchasing.
1. Seal the Gap Under Your Bedroom Door
The gap under your bedroom door is one of the easiest places for sound to travel. If you hear hallway noise, voices, TV sound, or movement outside your room, start here.
A door draft stopper or door sweep can help reduce the open air gap at the bottom of the door. It is a small fix, but it often makes the room feel more closed off and less connected to the rest of the house or apartment.
This is usually the best first purchase for cheap bedroom soundproofing because it is simple, renter-friendly, and does not require changing the room design.
Best for
- Hallway noise
- Shared apartments
- Bedroom doors with visible bottom gaps
- Renters who need a removable fix
Who should avoid it
A draft stopper will not solve noise that travels through walls, ceilings, or floors. It is best for door gaps, not full-room soundproofing.
Check Removable Door Draft Stoppers on Amazon
2. Add Weatherstripping Around the Door Frame
After sealing the bottom of the door, check the sides and top of the door frame. If you can see light around the door when it is closed, sound can move through those gaps too.
Weatherstripping tape is a simple DIY fix that helps close small gaps around the frame. It is commonly used for drafts, but it can also help reduce sound leaks because both air and sound travel through openings.
Best use case: choose weatherstripping if your bedroom door has visible side or top gaps. It works best with a door draft stopper because one seals the bottom while the other tightens the frame.
Weatherstripping may not be ideal if your door already closes tightly or if adhesive strips could damage a delicate surface. Test a small area first if you rent.
Check Self-Adhesive Weatherstripping Tape on Amazon
3. Use Heavy Curtains or Layered Window Coverings
If most of your noise comes from outside, the window area matters. Thin blinds or lightweight curtains do very little to soften outside sounds. Heavier curtains can add softness and help reduce the sharpness of noise coming from the window direction.
Heavy curtains will not turn a thin window into a soundproof wall, but they can make the bedroom feel more insulated and visually calmer. They also support the Snooze Protocol goal: a bedroom that feels quieter, softer, and more intentional.
For the best effect, choose curtains that are wide enough to cover beyond the window frame and long enough to create a fuller fabric layer. More coverage usually works better than a narrow curtain that barely covers the glass.
Best for
- Street noise
- Bedrooms with thin window coverings
- Rooms that feel echoey or exposed
- People who also want a warmer bedroom look
Who should avoid it
Heavy curtains are not enough if the main noise comes through walls, floors, or ceilings. They help most when the window is part of the problem.
Check Heavy Bedroom Curtains on Amazon
4. Add Rugs, Blankets, and Soft Materials
Hard bedrooms feel louder. Bare floors, empty walls, thin bedding, and minimal furniture can make small noises feel sharper because sound bounces around the room instead of being softened.
Soft materials will not block traffic noise or stop a loud neighbor through the wall, but they can reduce echo inside the room. That matters for sleep because a softer room often feels calmer, warmer, and less exposed.
Start with what you already own. A thicker rug, a folded throw blanket, upholstered furniture, extra pillows, or layered bedding can all help absorb some reflected sound. You do not need to make the room cluttered. The goal is to add texture where the room feels too hard or empty.
Best use case: choose a rug or soft textile layer if your room has hard floors, bare surfaces, or a sharp echo. This is more about reducing harshness inside the room than blocking outside noise.
Check Thick Bedroom Rugs on Amazon
5. Move Furniture Against Shared Walls
If noise comes through a shared wall, your furniture layout can help a little. A bookcase, dresser, upholstered headboard, or clothing rack placed against the noisy wall can add mass and texture between you and the sound source.
This is not the same as professional wall soundproofing, but it is free if you already own the furniture. It can also make the bedroom feel more grounded and intentional.
Focus on the wall closest to the noise. If your bed is directly against a shared wall with hallway noise, neighbor noise, or a TV on the other side, consider moving the bed slightly or placing a soft headboard, shelf, or storage piece along that wall.
Best use case: try furniture placement first if the noise seems to come from a shared wall. It will not fully block wall noise, especially heavy bass or vibration, but it can be a useful no-cost layer.
6. Use White Noise for Sounds You Cannot Block
Some noises are difficult to stop on a budget. Traffic, hallway doors, barking dogs, and sudden voices can still reach your bedroom even after you seal gaps and soften surfaces.
This is where sound masking can help. A white noise machine does not soundproof the room. Instead, it adds a steady background sound that makes sudden noise changes less noticeable.
If you are trying to block noise for sleep, this distinction matters. A door draft stopper, curtains, and rugs help reduce or soften sound. A white noise machine helps cover what remains. Used together, they can make the room feel calmer than any single fix on its own.
Choose a white noise machine if your main issue is unpredictable sound rather than constant structural noise. It is especially useful when you cannot control the source of the noise.
Best for
- Traffic noise
- Hallway sounds
- Shared living spaces
- Sudden sounds that interrupt a calm room
Who should avoid it
A white noise machine is not the right first fix if your bedroom has obvious gaps under the door or around the frame. Seal those first, then use sound masking as an add-on.
Check White Noise Machines for Bedrooms on Amazon
If you are comparing sound machines, you may also like our Snooz vs LectroFan comparison.
How to Keep the Room Calm, Not Just Quieter
Budget soundproofing should not make your bedroom feel like a studio booth. The goal is a softer sleep environment, not a room covered in random foam squares.
Choose upgrades that also make the room feel calmer visually: neutral curtains, a thicker rug, layered bedding, a soft headboard, and a simple sound machine on the nightstand. These details support the same goal from two directions: less harsh sound and a more restful bedroom.
This is where bedroom soundproofing becomes part of your sleep setup instead of just a DIY project.
What to Buy First With $25, $50, or $100
Budget bedroom soundproofing works best when you spend money in the right order. Do not start with the prettiest product. Start with the source of the sound leak.
If You Only Have Around $25
Start with the bedroom door. A door draft stopper and basic weatherstripping tape usually make more sense than decorative panels or random foam squares. This is especially true if hallway noise is your biggest problem.
If You Have Around $50
Seal the door first, then add one soft layer. That could be a rug near the bed, heavier curtains if the window is the issue, or extra fabric around the loudest area of the room.
If You Have Around $100
Create a layered setup: door draft stopper, weatherstripping, heavier curtains or a rug, and a white noise machine if unpredictable sound is still bothering you. This combination is usually more useful than spending the full budget on one item.
Common Budget Soundproofing Mistakes to Avoid
Buying Foam Panels First
Foam panels can reduce echo inside a room, but they are often a poor first purchase if your real problem is sound coming through a door, window, or wall. Start with gaps before buying foam.
Ignoring the Door
A bedroom door can leak a surprising amount of sound, especially if there is a large gap underneath. If you hear hallway noise, the door should be your first checkpoint.
Expecting Perfect Silence
Budget soundproofing can make a room feel calmer, but it usually cannot create total silence. Low-frequency noise, vibration, and structural sound often require more serious work.
Using Only One Fix
One product rarely solves the whole problem. A layered approach works better: seal gaps, soften surfaces, cover thin areas, and mask what you cannot block.
Forgetting the Bedroom Aesthetic
Your bedroom should still feel restful. Choose soft materials, neutral tones, and practical upgrades that make the room feel calmer visually as well as acoustically.
Snooze Protocol Tip
Think in Layers, Not Magic Products
The best budget bedroom soundproofing setup usually combines small improvements: seal the door, soften the window, add textiles, rearrange furniture, then use white noise if needed. Each layer helps a little. Together, they create a calmer room.
Related Sleep Setup Guides
If sound is only one part of your sleep setup, temperature may also matter. Start with our guide to hot sleeper solutions.
For warmer months, you may also like our summer bedding ideas. And if heavy bedding is part of the problem, see our guide to a cooling blanket for hot sleepers.
FAQ
You can reduce bedroom noise cheaply by sealing door gaps, adding weatherstripping, using heavier curtains, adding soft materials, and masking unpredictable sounds. It will not create perfect silence, but it can make the room feel calmer.
The cheapest first step is usually sealing the gap under the bedroom door with a draft stopper. If hallway noise is the problem, this can be more useful than buying foam panels or decorative soundproofing products.
Foam panels mainly reduce echo inside a room. They usually do not block outside noise very well. For bedroom soundproofing, start with gaps, doors, windows, and soft layers before buying foam.
Use heavier curtains or layered window coverings to soften noise from the window area. This will not fully soundproof the window, but it can make outside noise feel less sharp inside the bedroom.
White noise does not block sound. It masks sound by adding a steady background noise, which can make sudden or inconsistent sounds feel less noticeable while you are trying to sleep.
Start with a door draft stopper if there is a visible gap under your bedroom door. Then add weatherstripping, heavier curtains, rugs, or a white noise machine depending on where the noise comes from.
Final Thoughts: Start With the Gaps
If you want to soundproof your bedroom on a budget, start with the simplest problem first: gaps. Seal the bottom of the door, tighten the door frame, soften the window area, and add fabric layers before spending money on products that only look like soundproofing.
Perfect silence is not realistic for most bedrooms under $100. But a quieter, softer, more sleep-friendly room is realistic when you combine small fixes. A draft stopper, weatherstripping, heavier curtains, a rug, and a steady sound machine can work together to make the room feel more protected from noise.
To start with the most practical things, focus on your bedroom door. If outside noise bothers you, address the window. Next, add soft materials if the room feels austere or echoey. Finally, if sudden noises still disturb you, consider using soundproofing devices.
Browse Budget Bedroom Soundproofing Finds on Amazon
The information on this site is for general informational purposes only and is not medical advice. This article contains affiliate links. If you buy through these links, we may earn a commission at no extra cost to you. This does not influence our recommendations.